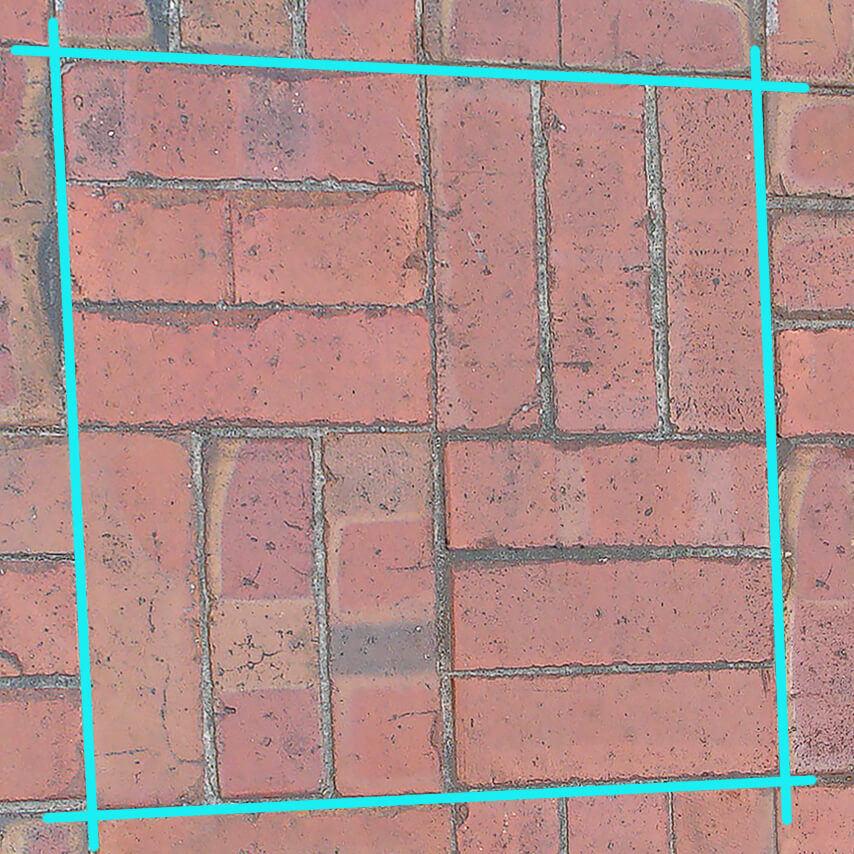
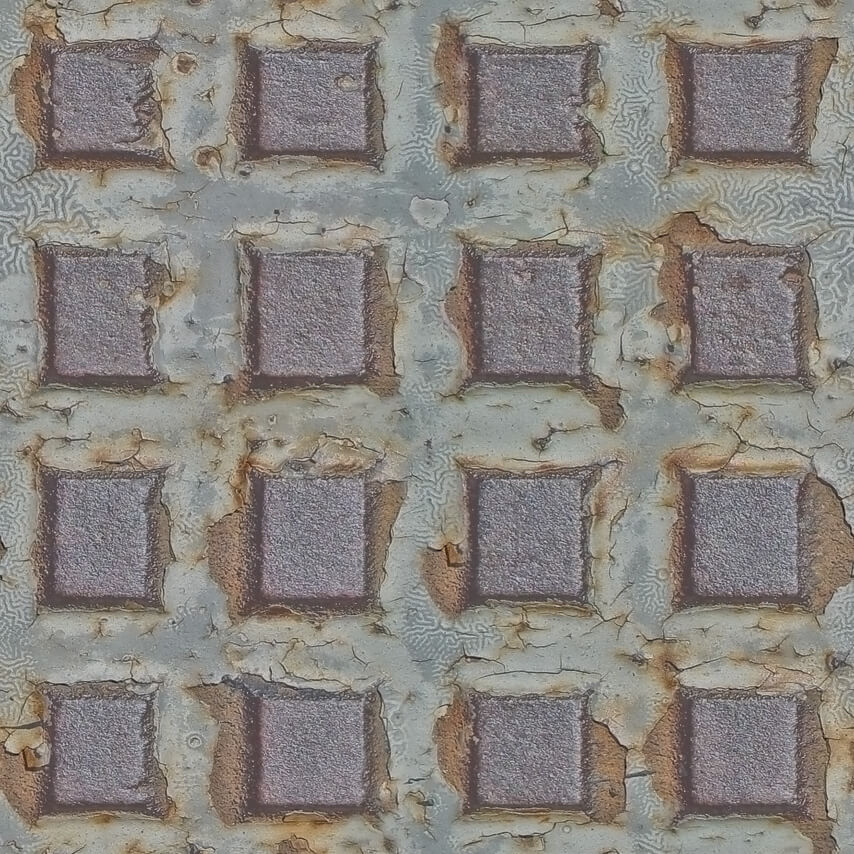
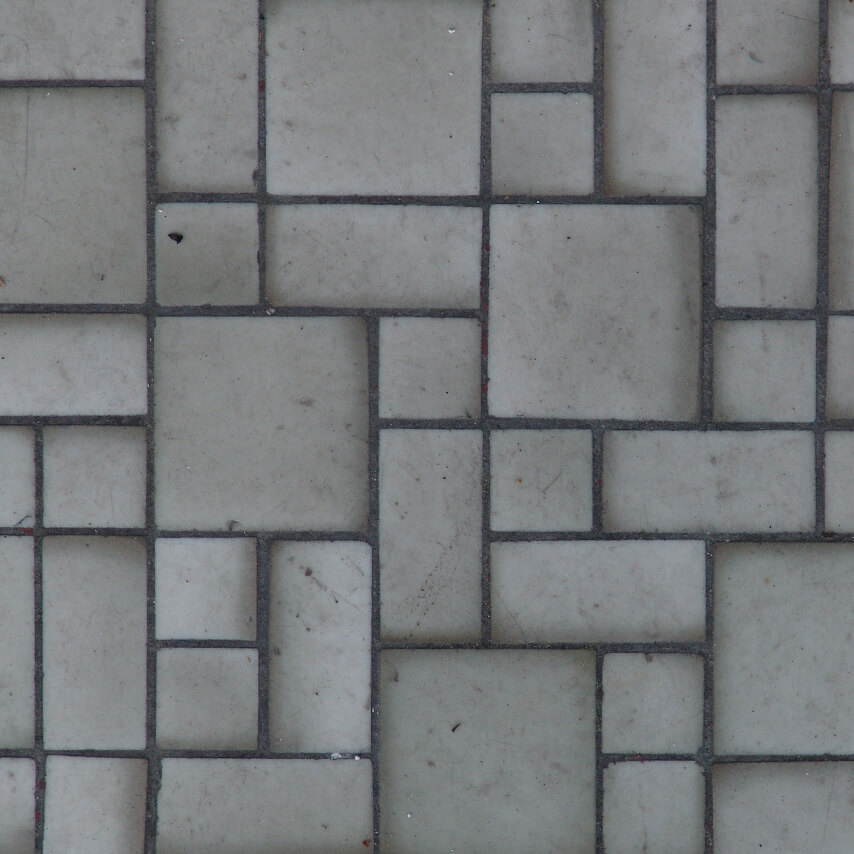
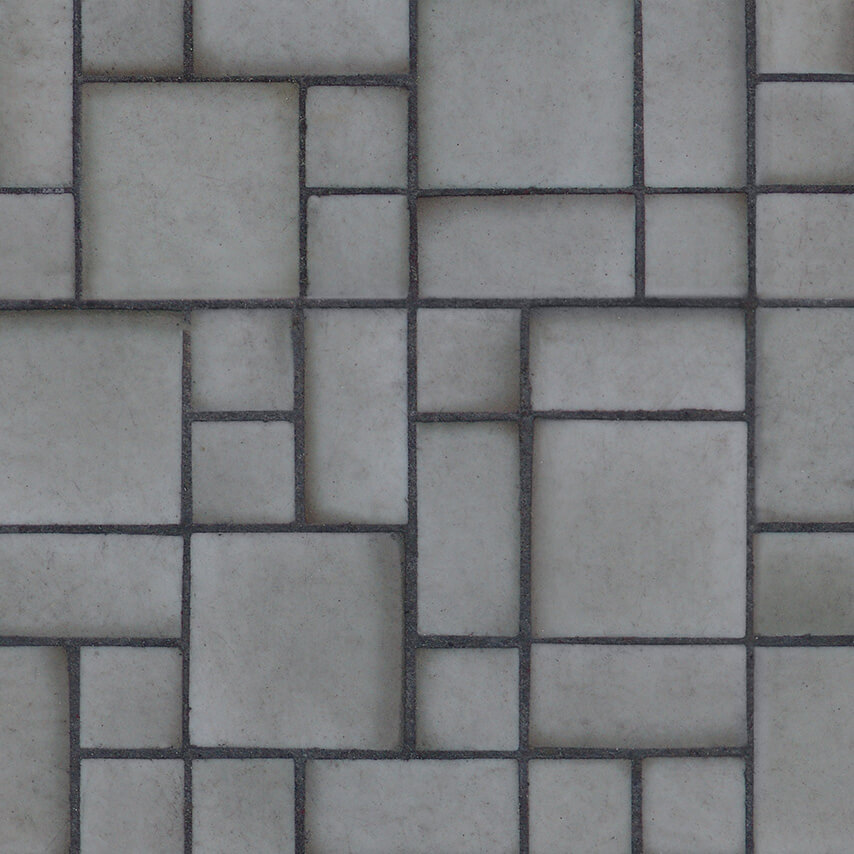
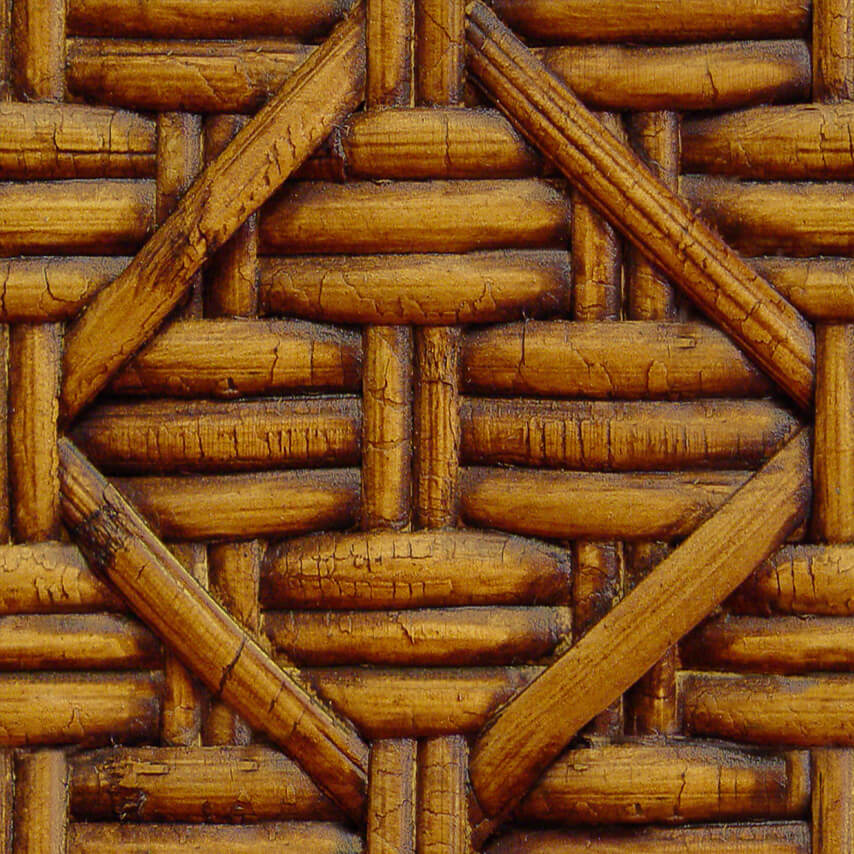
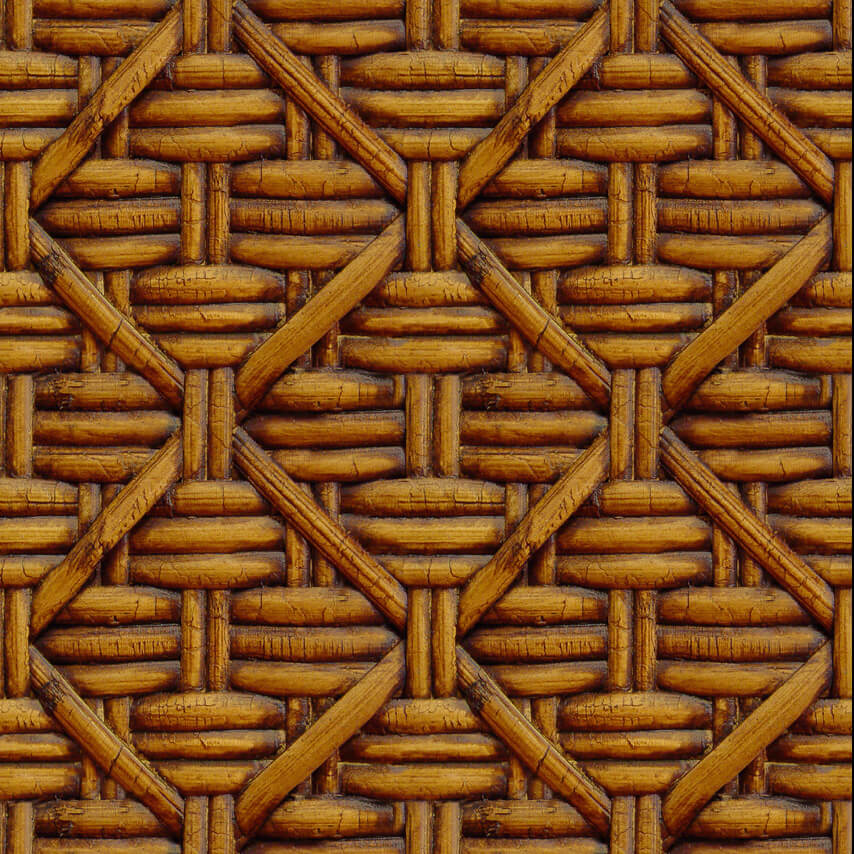
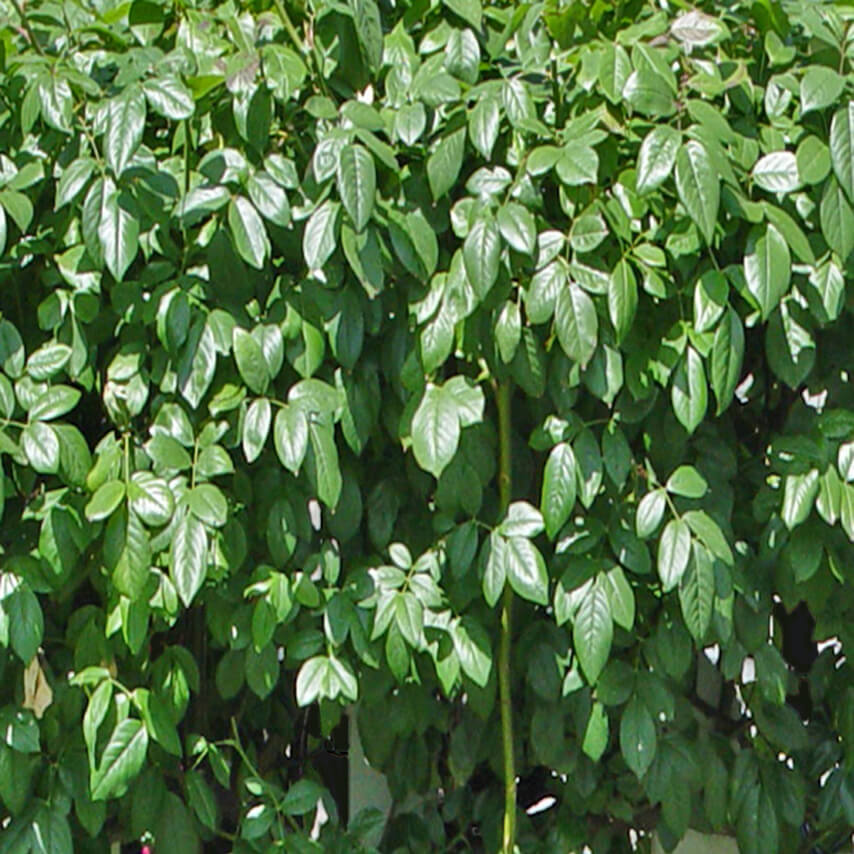
The typical texture on average takes up to several hours to edit in Photoshop. We start with good source that has natural tiling potential. After squaring, color / light grading, and shadow removal, the visual elements are moved around in an iterative fashion, testing progress over and over again until the “plaid effect” is minimized and the quality of repetition is sound.
Our philosophy has been to provide you with the widest selection of high quality image source, so that you can create your own support maps if you need them (bump, normal, shininess, etc) by using common conversion software.
Moving forward, full shader maps will be created for every existing product, as well as all future products. These will become free power-ups to new customers as of 2022.
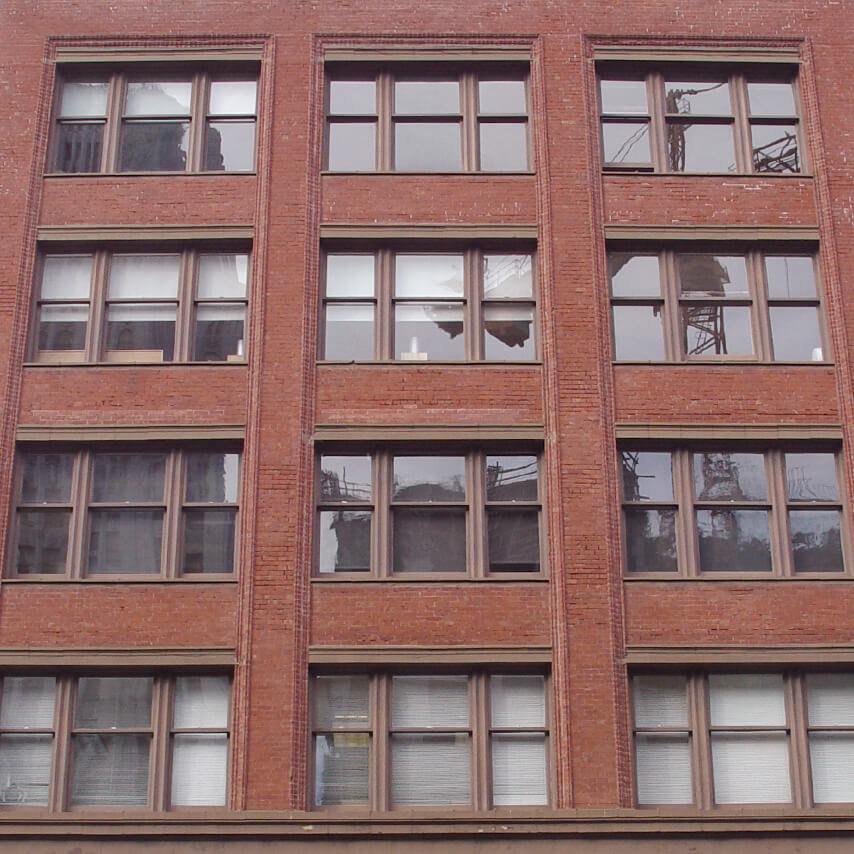
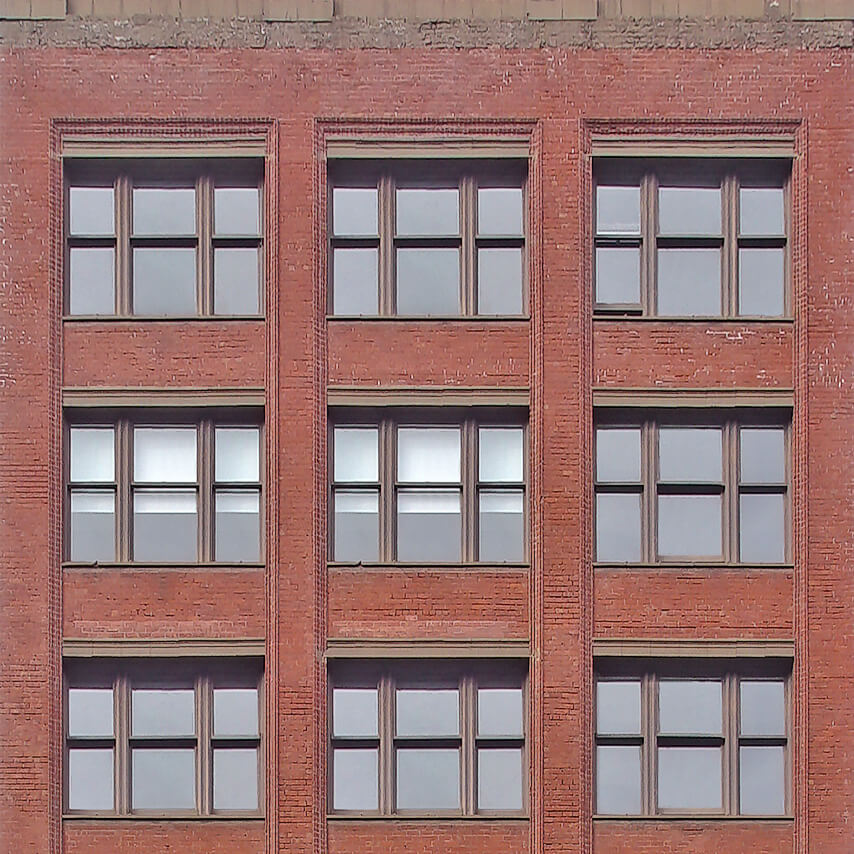
For Architectural facades, we include reflection masks that can be used in your shaders for reflective windows or for altering the window colors. Additionally, the Architecture JPEG files that have fancy outlines include embedded vector paths that can be used to create 3D geometry for extruding.
Materials with transparency have now been updated to PNG format instead of separate grayscale mask image. This format change makes edge transparency more accurate and look more natural in scenes with variable lighting and layering conditions.